Every D2C founder in India hits the same wall right after their Shopify store looks ready: how do I actually get paid, and how do I actually ship the order?
Shopify's default checkout works globally, but Indian payment preferences — UPI, net banking, Pay Later, EMI — and Indian logistics realities (COD, pin-code serviceability, NDR management) need two specific tools wired in correctly: Razorpay for payments and Shiprocket for shipping. Get either one wrong and you'll see it immediately — failed payments at checkout, or orders stuck with no shipping label.
This is the complete setup guide we walk our own Shopify clients through.
Why Razorpay + Shiprocket Specifically
Shopify Payments isn't fully available for Indian merchants the way it is in the US or UK, which is why almost every Indian D2C brand runs on a third-party gateway. Razorpay is the most widely used because it supports UPI, cards, net banking, wallets, and EMI in a single checkout flow, with same-day to T+2 settlement and solid uptime.
Shiprocket, similarly, isn't the only courier aggregator — but it's the one with the deepest Shopify integration, giving you rate comparison across 20+ courier partners, automated label generation, and NDR (non-delivery report) management from one dashboard.
Part 1: Setting Up Razorpay on Shopify
Step 1 — Get Your Razorpay Account Ready
Sign up at Razorpay and complete KYC with your business PAN, GST (if applicable), and bank account details. Activation can take 2–5 business days, so start this before your store is otherwise ready to launch — it's the single most common launch-delay bottleneck we see.
Step 2 — Generate API Keys
In the Razorpay Dashboard, go to Settings → API Keys and generate your Key ID and Key Secret. Keep these two live keys private — never paste them into theme code or anywhere public-facing.
Step 3 — Install the Razorpay App on Shopify
From the Shopify App Store, install the official Razorpay payment app, then connect it using the API keys from Step 2.
Step 4 — Enable Razorpay as a Payment Provider
Go to Shopify Admin → Settings → Payments, and under Third-party providers, select Razorpay and activate it. At this point you can choose which payment methods to expose at checkout — we recommend enabling UPI, cards, and net banking at minimum, since together they cover the overwhelming majority of Indian online shoppers.
Step 5 — Test With a Real (Small) Transaction
Before going live, run Razorpay in test mode using their sandbox card numbers, then switch to live mode and place one real, small-value order yourself to confirm the money actually settles and the order status updates correctly in Shopify.
Common mistake: merchants activate Razorpay but forget to disable Shopify's default "Bogus Gateway" test payment option, which can accidentally stay visible to real customers.
Part 2: Setting Up Shiprocket on Shopify
Step 1 — Create a Shiprocket Account and Add Pickup Locations
Sign up at Shiprocket and add your pickup address(es) — this is what determines courier serviceability and rate calculation, so get the pin code right.
Step 2 — Connect Your Shopify Store
Inside Shiprocket, go to Settings → Channels → Add New Channel, select Shopify, and authorize the connection with your store URL. Orders will now start syncing into Shiprocket automatically as they come in.
Step 3 — Set Shipping Rules
Configure COD vs. prepaid rules, weight-based or value-based shipping charges, and which courier partners you want prioritized (based on serviceability and cost in your core delivery zones — usually Delhi NCR first for same-city/next-day delivery).
Step 4 — Automate Label Generation and Tracking
Enable auto-generation of AWB numbers and shipping labels on order confirmation, and turn on automated tracking-link emails/SMS so customers get updates without your team manually following up.
Step 5 — Set Up NDR Management
Non-delivery (failed delivery attempts) is one of the biggest silent revenue leaks in Indian eCommerce. Configure Shiprocket's NDR automation to trigger automatic customer follow-ups (call, SMS, WhatsApp) before an order gets marked RTO (return to origin).
Common Mistakes We See D2C Brands Make
- Launching with only prepaid or only COD instead of offering both — COD still drives a large share of first-time orders in India.
- Not testing refund flows — a failed Razorpay refund that a customer has to chase down is one of the fastest ways to tank your reviews.
- Ignoring pin-code serviceability before running ads to a region Shiprocket's couriers can't actually deliver to reliably.
- Skipping webhook setup, which means Shopify order status and Shiprocket shipping status silently fall out of sync over time.
When to Bring in a Developer Instead of DIY-ing It
Both apps are designed to be self-serve, and a lot of founders do set them up themselves. Where it tends to break down is custom checkout logic — COD availability by pin code, dynamic shipping charges by weight slab, custom order tagging for fulfillment workflows, or syncing inventory across multiple warehouses. That's when a developer who's done this integration before saves you weeks of trial and error.
Get Your Shopify Store Set Up Right the First Time
We build and configure Shopify stores for Indian D2C brands end-to-end — payments, shipping, inventory, and custom checkout logic included — so you're not troubleshooting failed payments or stuck orders after launch. If you're setting up a new store or migrating an existing one, talk to our team and we'll map out exactly what your specific product and shipping zones need.
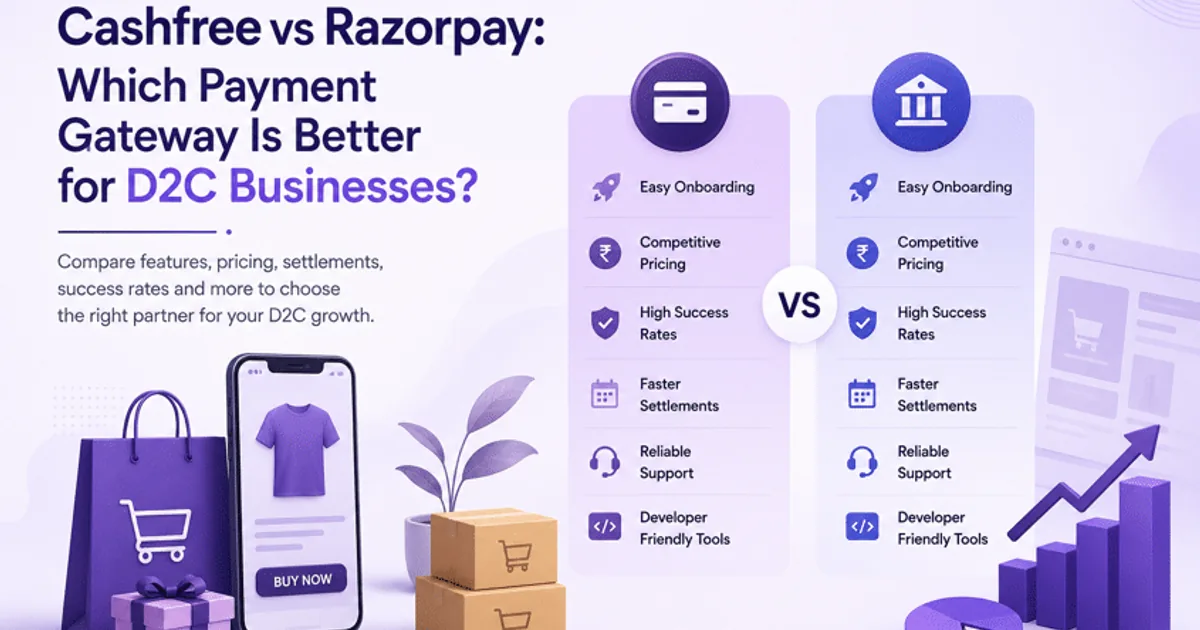
If Razorpay isn't the only gateway you're considering, see our comparison of the top Indian payment gateways. And once payments and shipping are sorted, it's worth checking your store against the most common Shopify setup mistakes we see in Indian D2C stores.